Rectangular XPMC 0.2
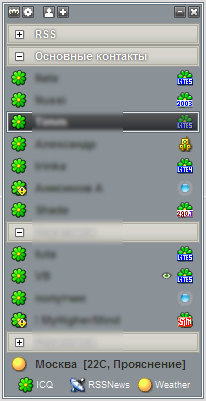
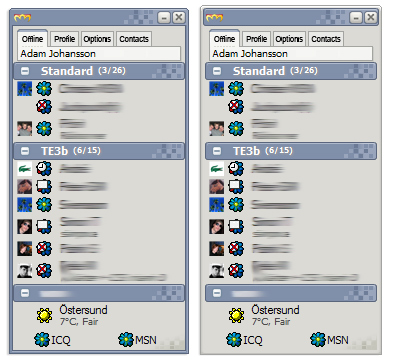
Description: It is my variant of a theme for XPMC visual style for Windows XP by bOsE http://web9design.com/
Thank bOsE for idea :)
Description: It is my variant of a theme for XPMC visual style for Windows XP by bOsE http://web9design.com/
Thank bOsE for idea :)
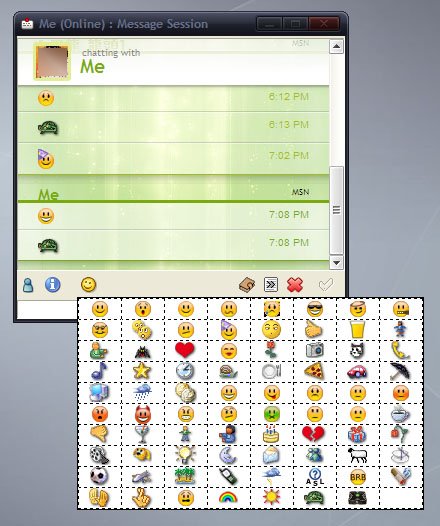
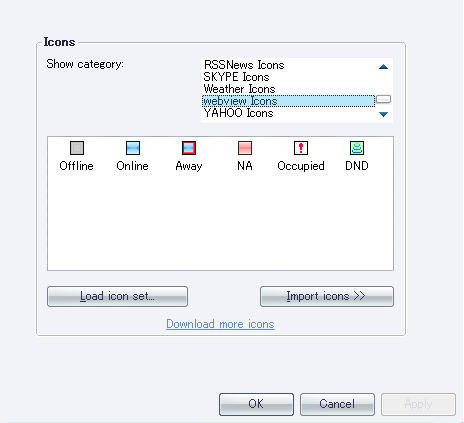
Description: Icons originally done for Adium for the Mac compiled by bob_the_gorilla of http://www.adiumxtras.com. Installation instructions are in the readme. It would be best to have the latest SmileyAdd and/or IEView plugins.
These emoticons cover all the MSN protocol emoticons in an Adium-ish style. IEView also has the option of a PNG transparency workaround, allowing the icons to be alpha transparent rather than the way it was before (no transparency).
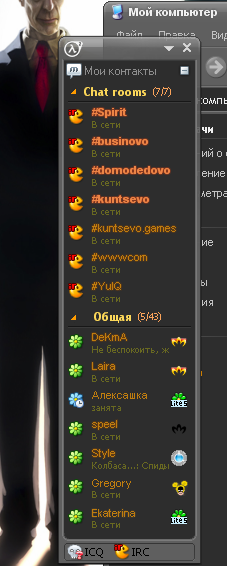
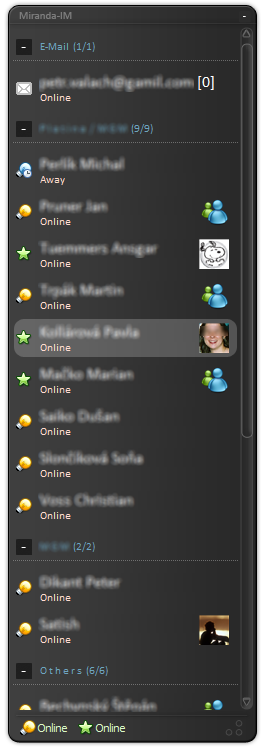
Description: Just port of great Visual Style to miranda, no more. Included CLC.ini with fonts settings like at the screen
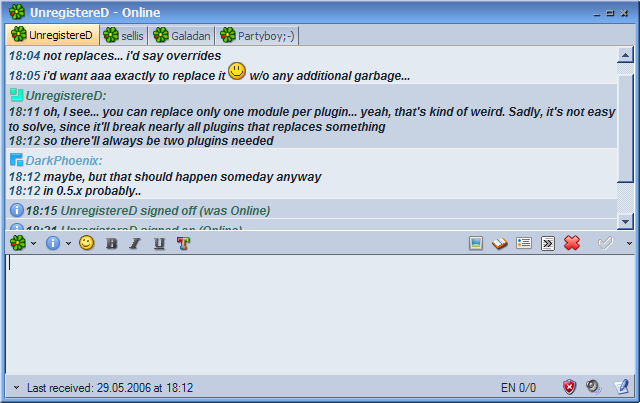
Description: Simple and clean skin for IEView message log, reflects one for TabSRMM, but with skinned scrollbar and higher resource consumption.
To use window (container) skin, download TabSRMM container skin (see below).
Other themes matching to this one:
Modern Contact List: http://addons.miranda-im.org/details.php?action=viewfile&id=3013
Nicer+ Contact List: http://addons.miranda-im.org/details.php?action=viewfile&id=3014
TabSRMM: http://addons.miranda-im.org/details.php?action=viewfile&id=2864
Smiley Pack: http://addons.miranda-im.org/details.php?action=viewfile&id=3015
PopUp+: http://addons.miranda-im.org/details.php?action=viewfile&id=2865
Tipper: http://addons.miranda-im.org/details.php?action=viewfile&id=3439
Splash Screen (by hansen): http://addons.miranda-im.org/details.php?action=viewfile&id=3212

Description: #########################################################################
GERMAN VERSION
#########################################################################
ICQ 5 Smileys für Miranda :)
In diesem Paket befinden sich keine smileys, daher wird ICQ 5 benötigt (aus rechtlichen Gründen).
Ihr könnt ICQ 5 hier downloaden:
http://www.icq.com/download/
Schritte zur Installation: